In a setup guide published on November 17, 2026 (UTC+8), iDownloadBlog described how to configure Apple HomeView using an iPhone or iPad. The guide used the desk model, which includes a 30-watt power adapter and USB-C cable.
Before you start
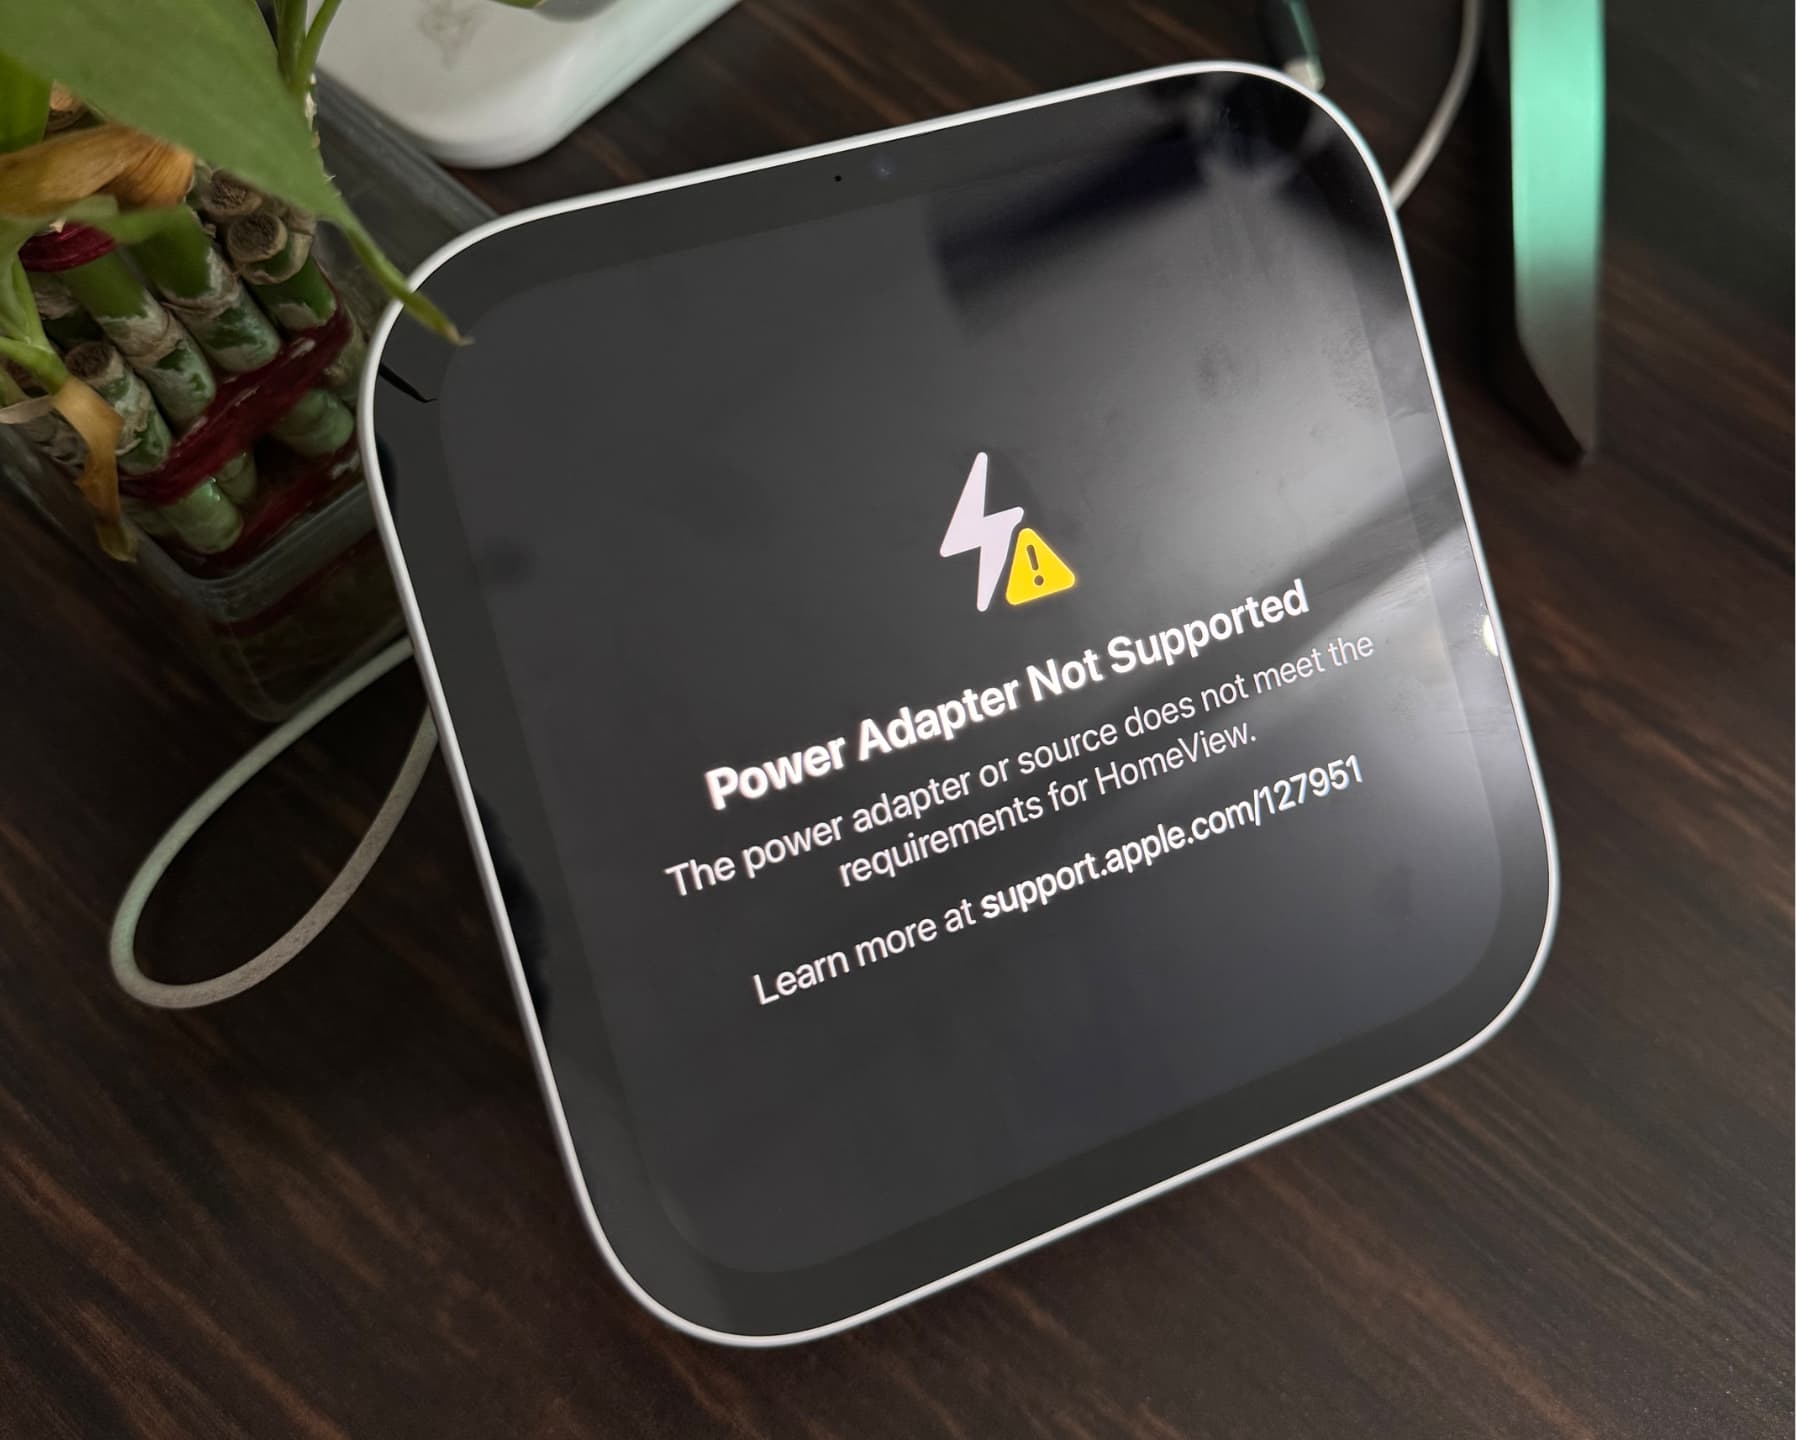
Update your iPhone to the latest available version of iOS 27; the guide identified iOS 27.2 as current when it was written. Connect the iPhone or iPad to Wi-Fi and turn on Bluetooth. Then plug the supplied USB-C cable into the back of HomeView’s speaker base and connect the 30-watt adapter. According to the guide, a 20-watt Apple adapter will not work.
Complete setup
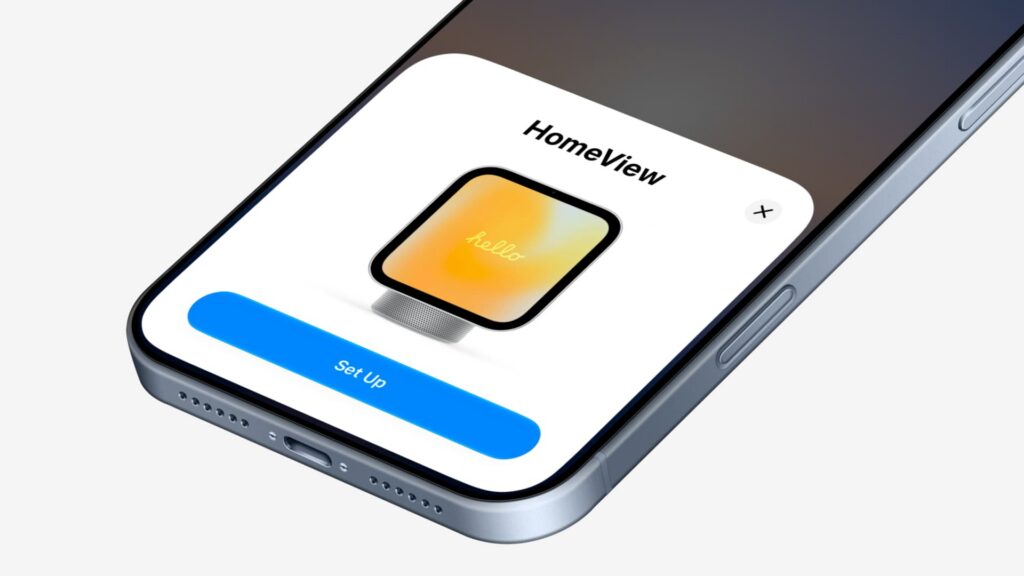
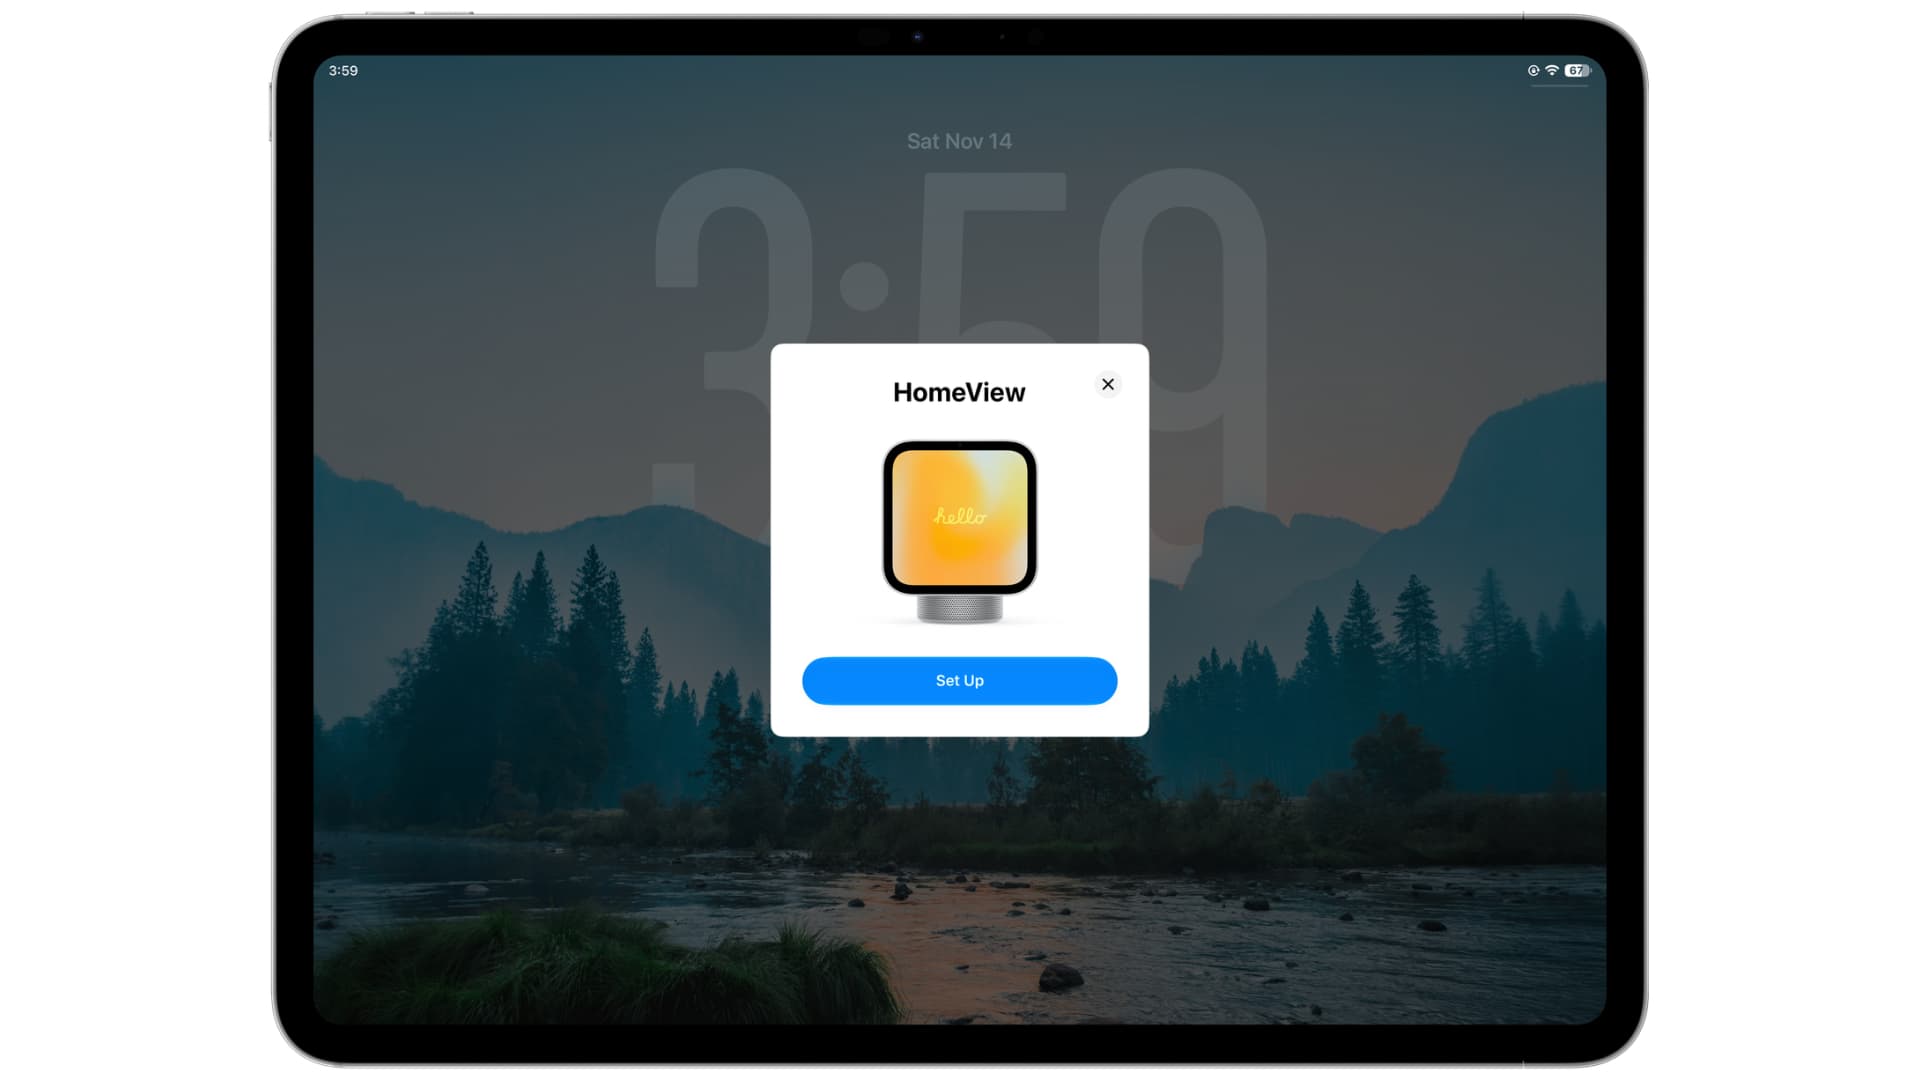
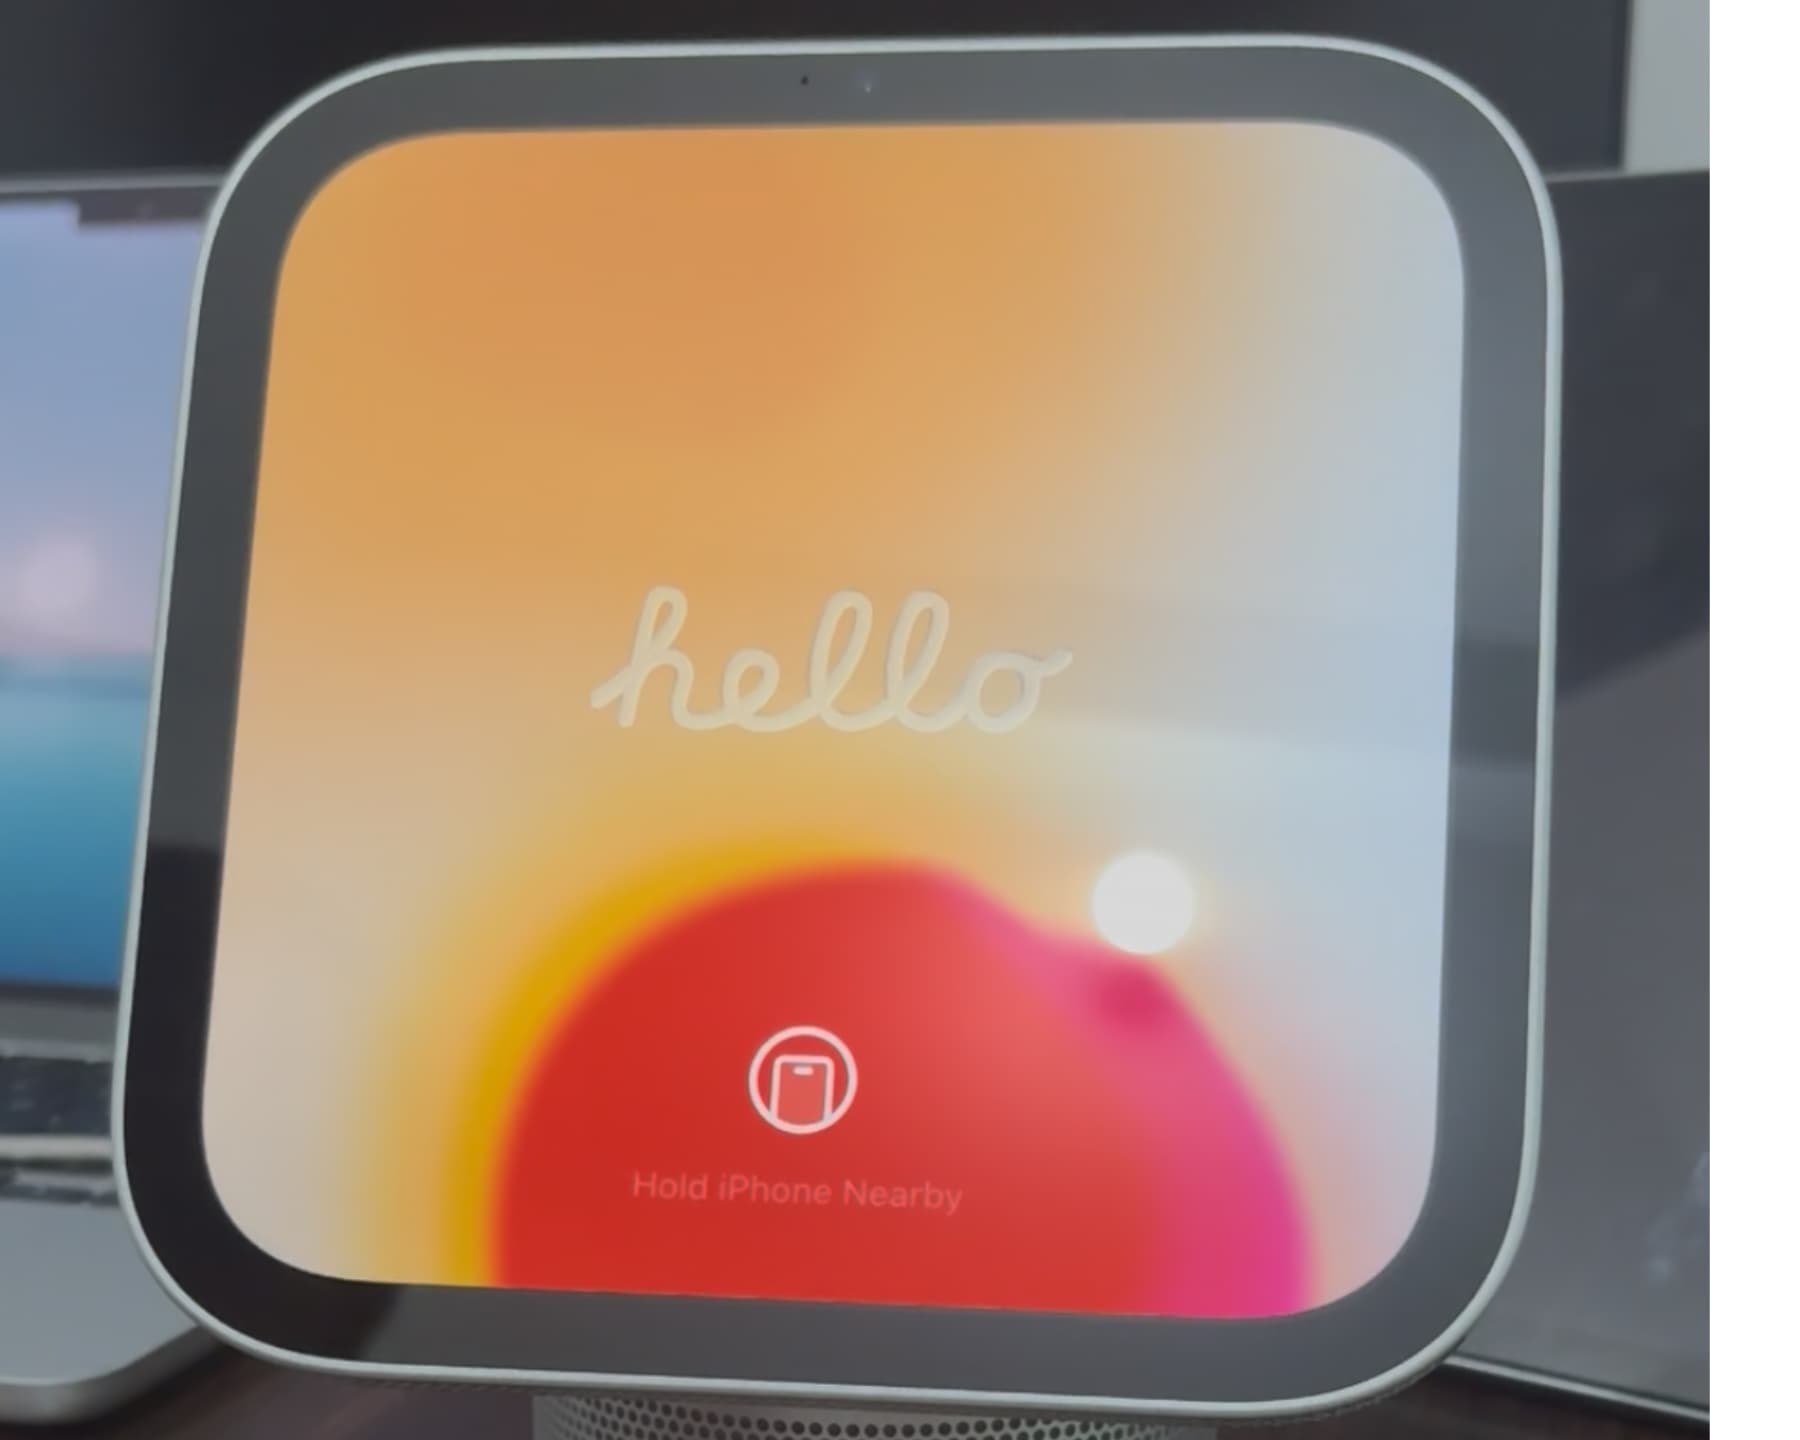
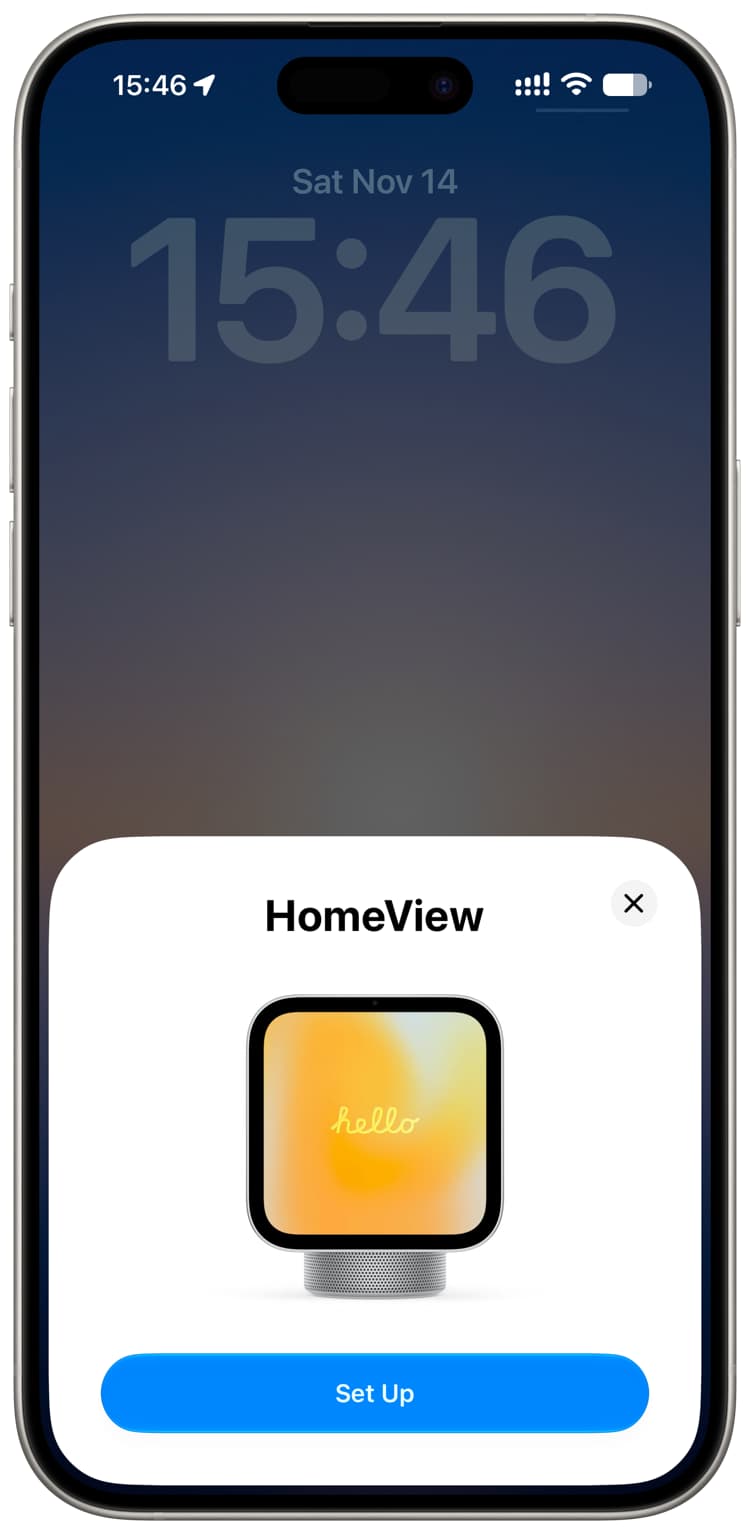
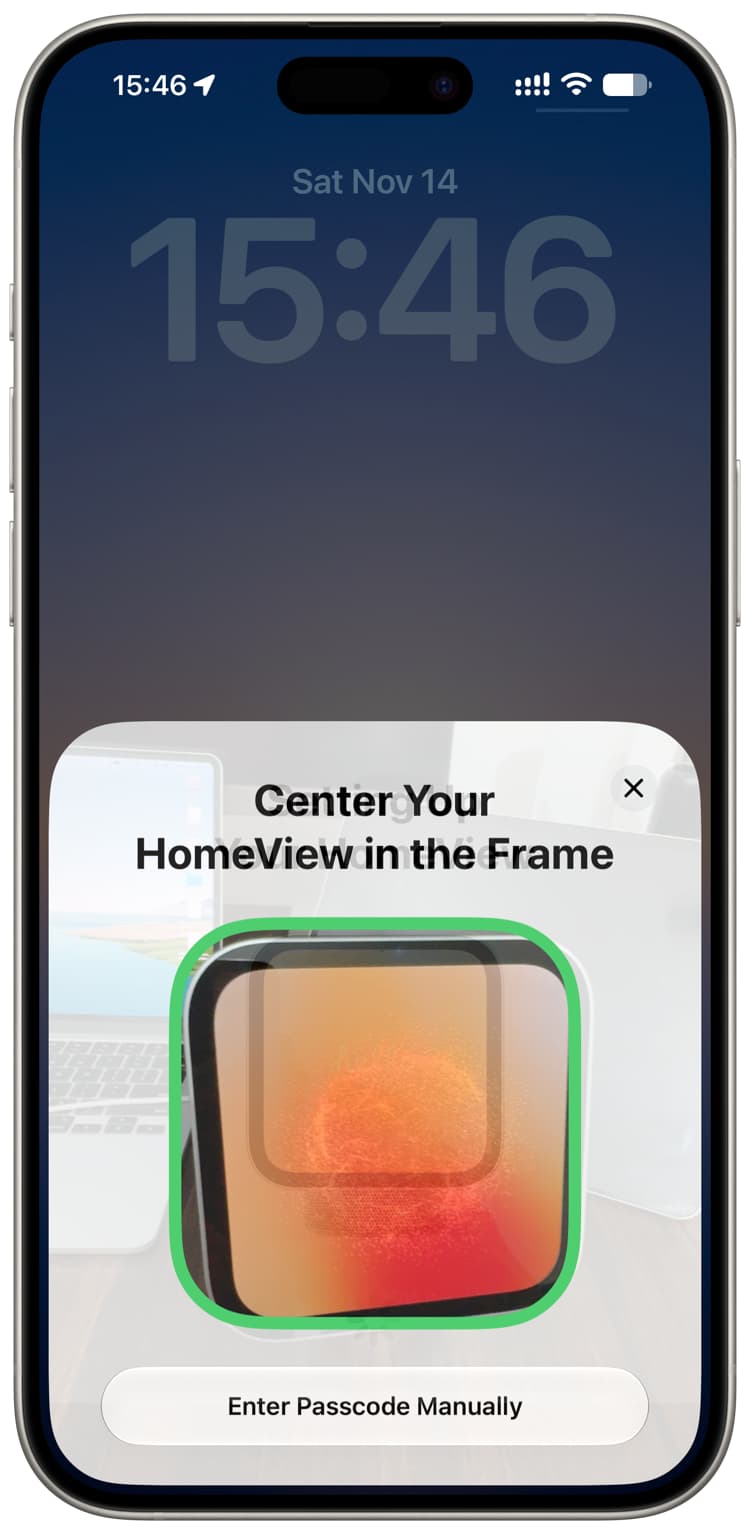
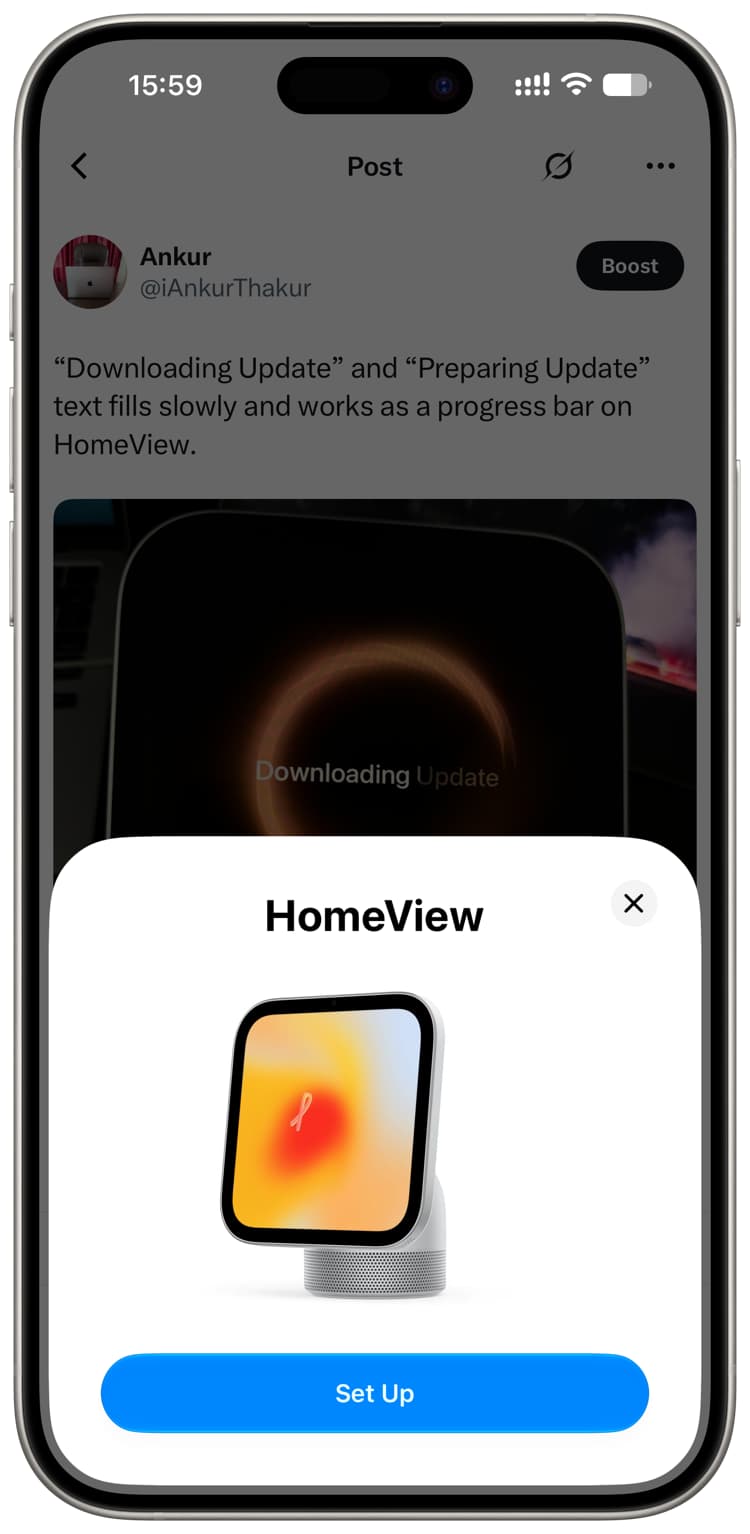
- Wait for the Apple logo and then the “hello” screen on HomeView. Unlock your iPhone or iPad, tap Set Up on the HomeView card, and use the device’s camera to scan the dotted animation on the HomeView display.
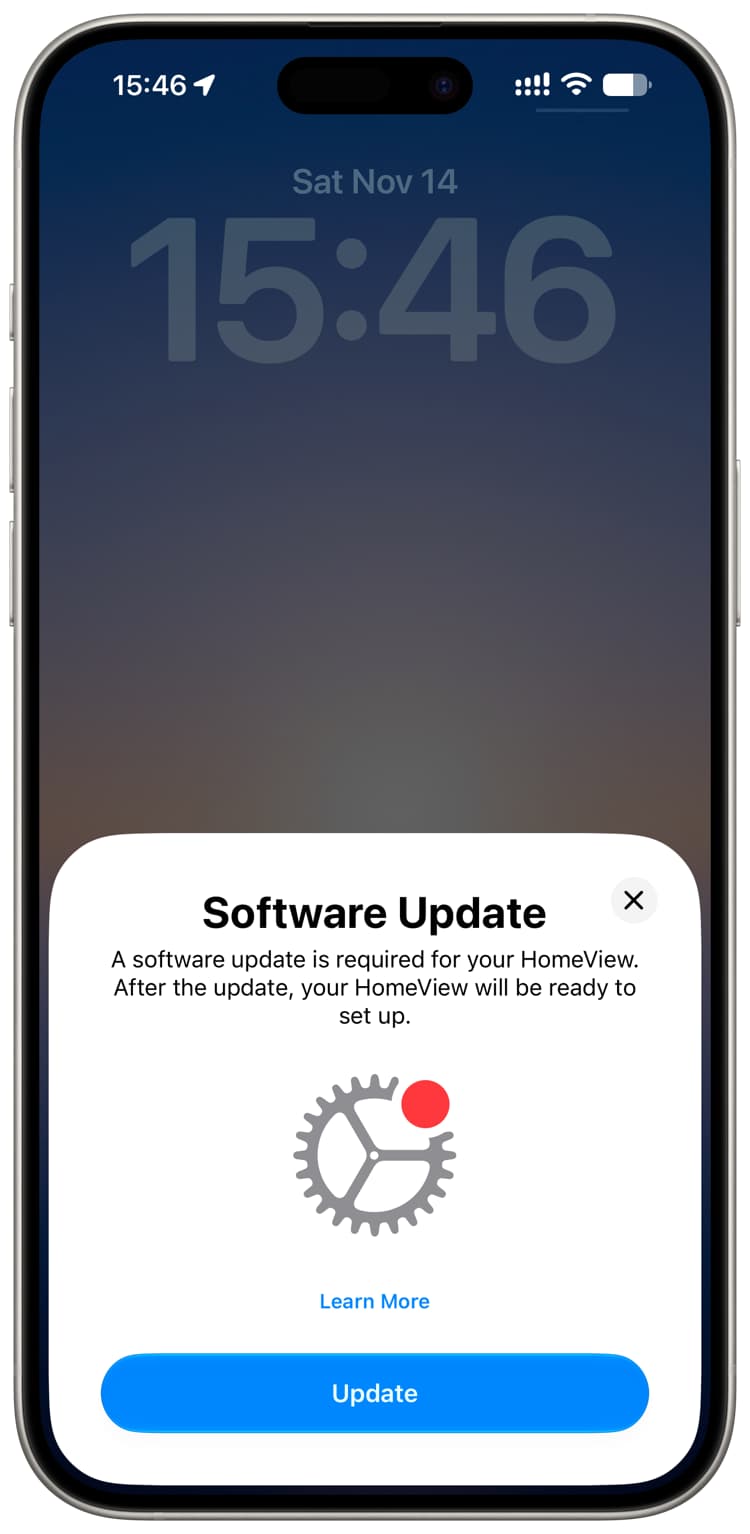
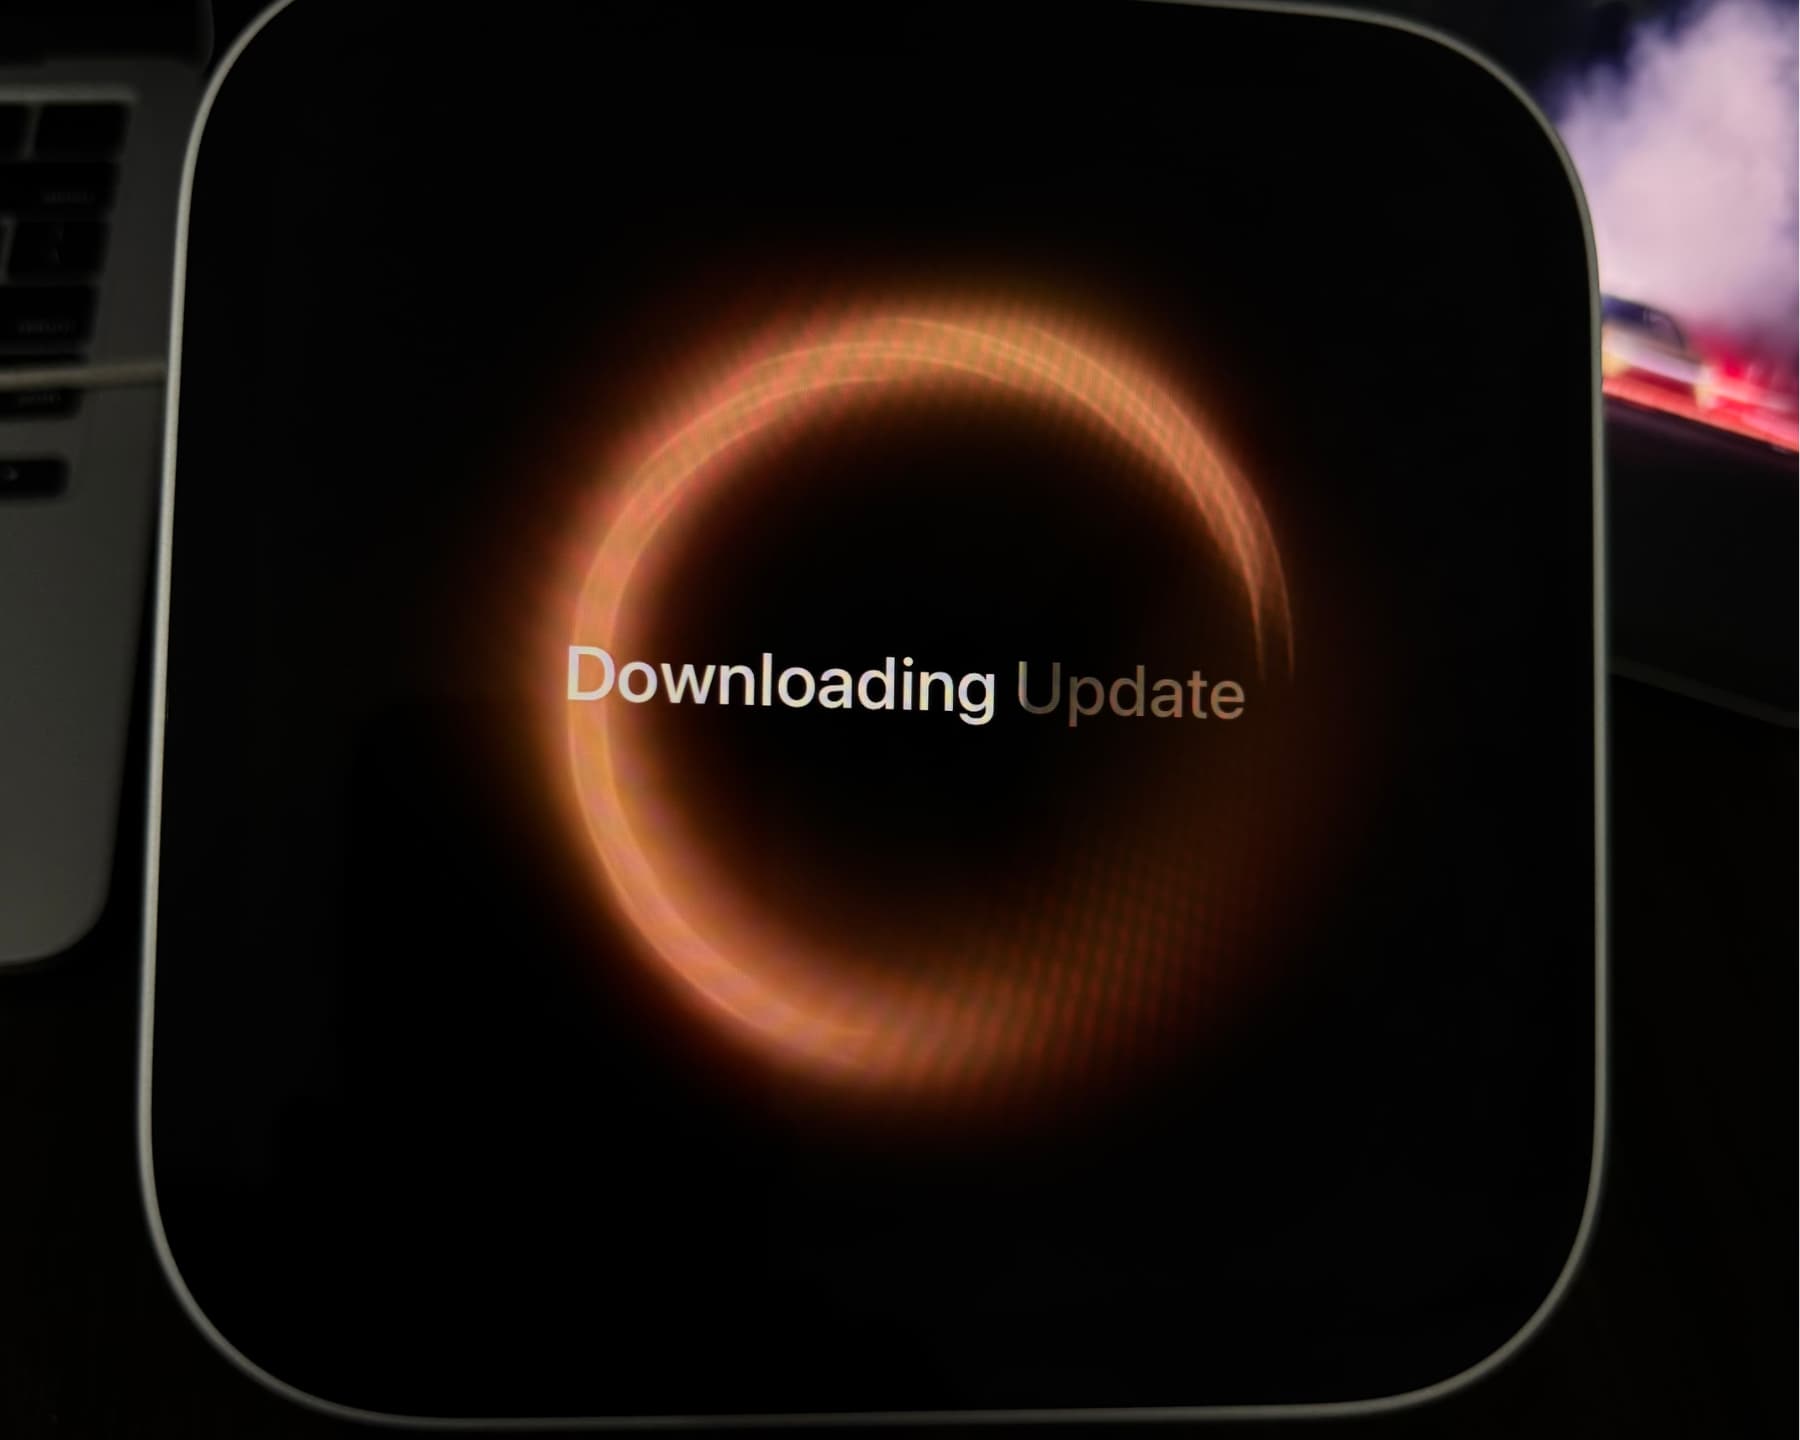
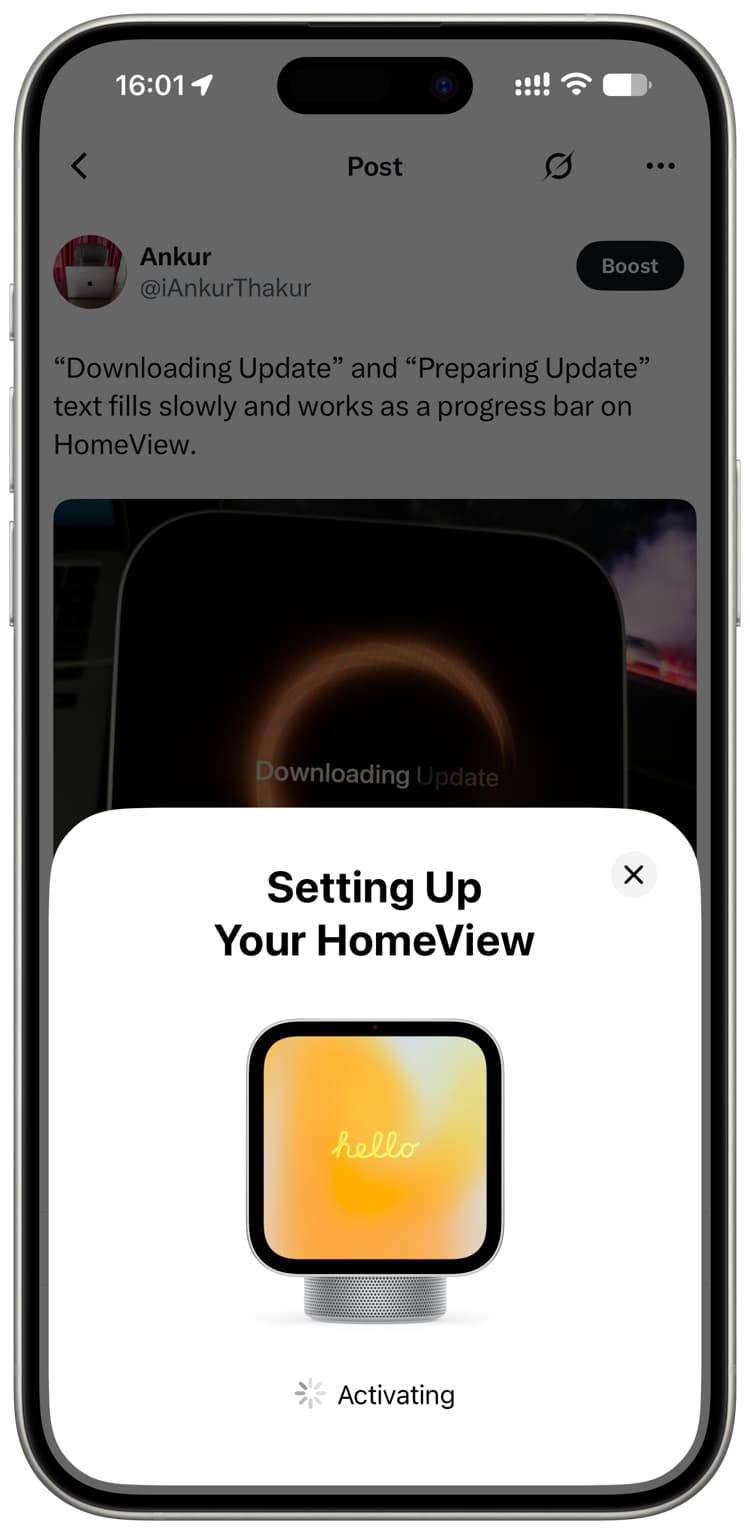
- If prompted, tap Update to install the latest available HomeView software and Siri updates. The guide estimates that this takes about 10–15 minutes. Once installation finishes, tap Set Up again. If the card does not appear, lock and unlock your iPhone or iPad.
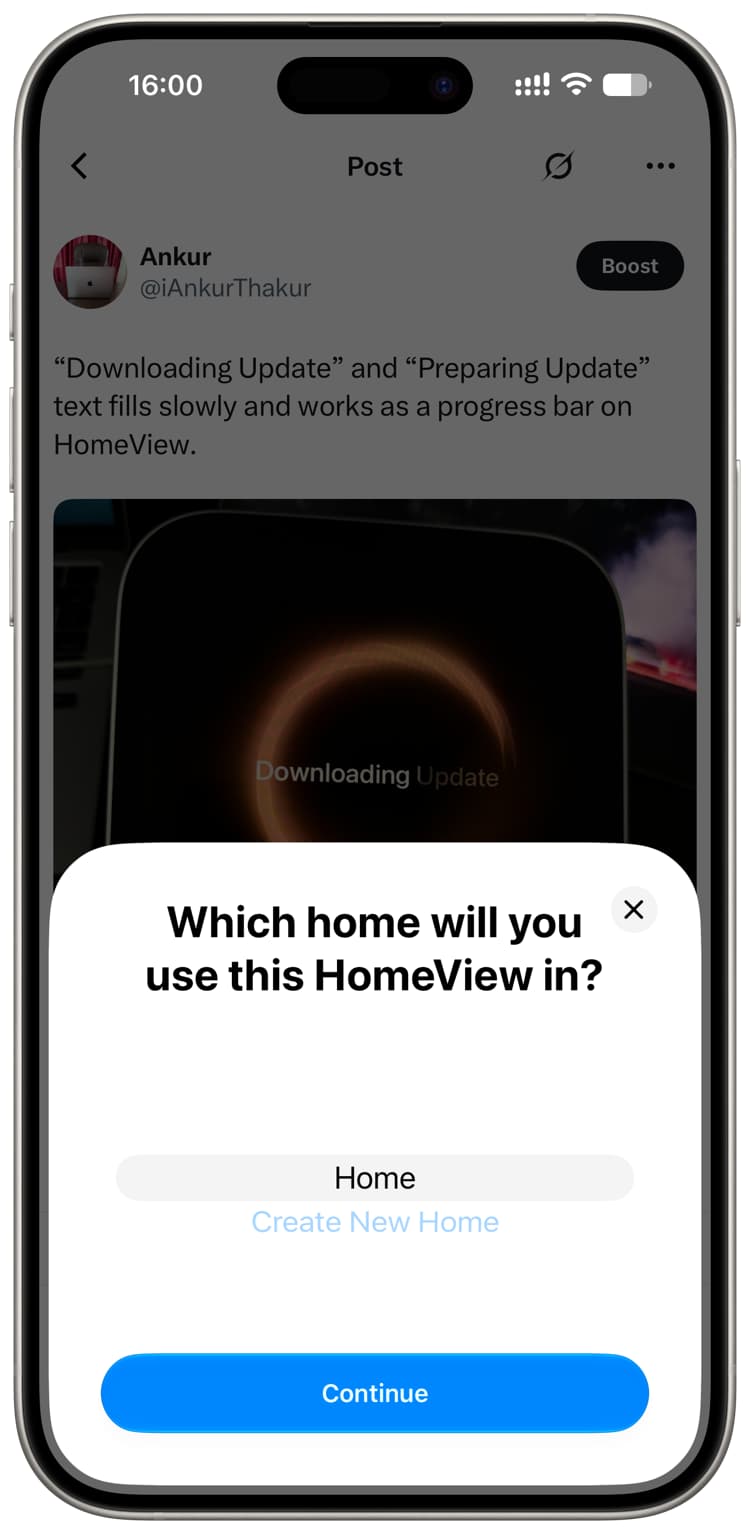
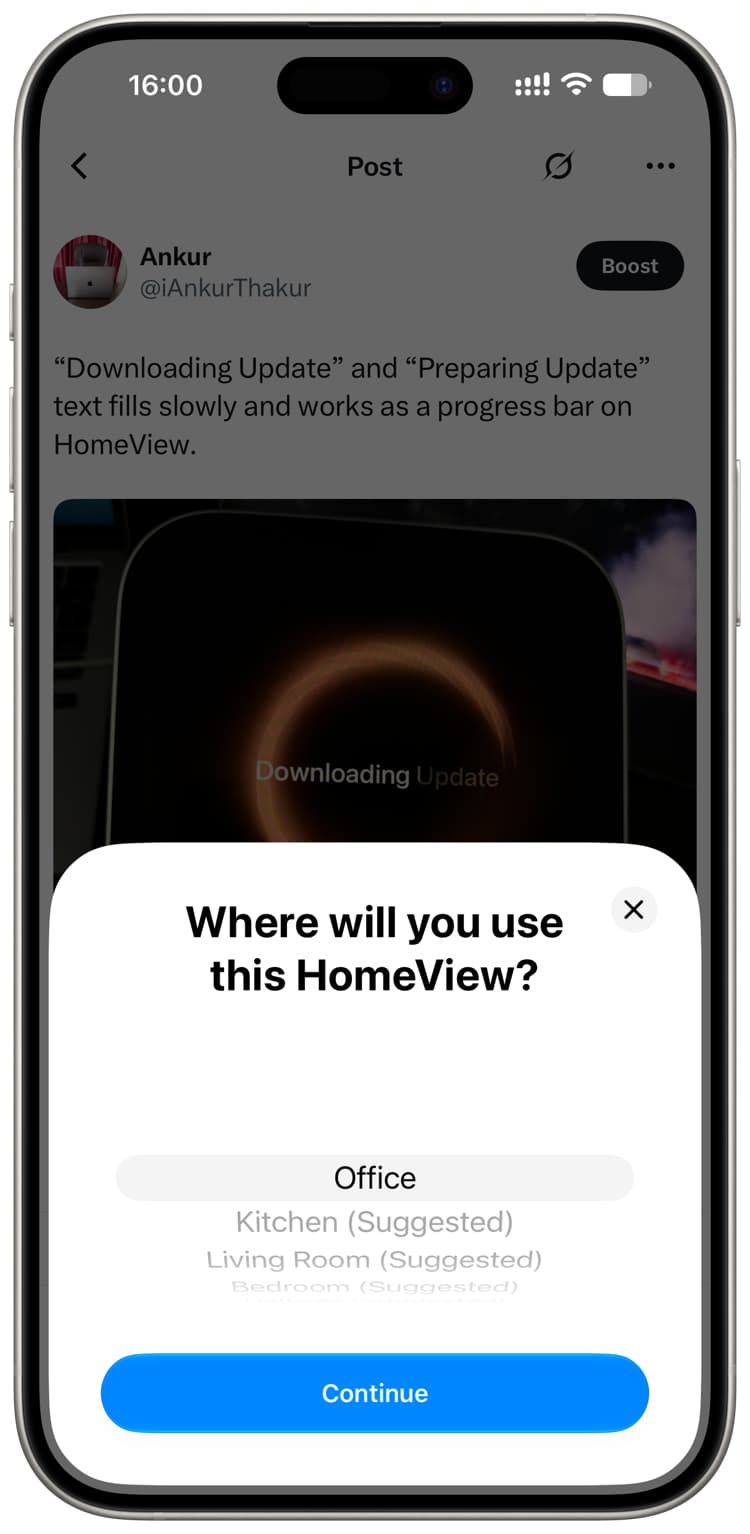
- Choose the home and room where HomeView will be used. These choices come from the Home app. Continue through the legal screens.
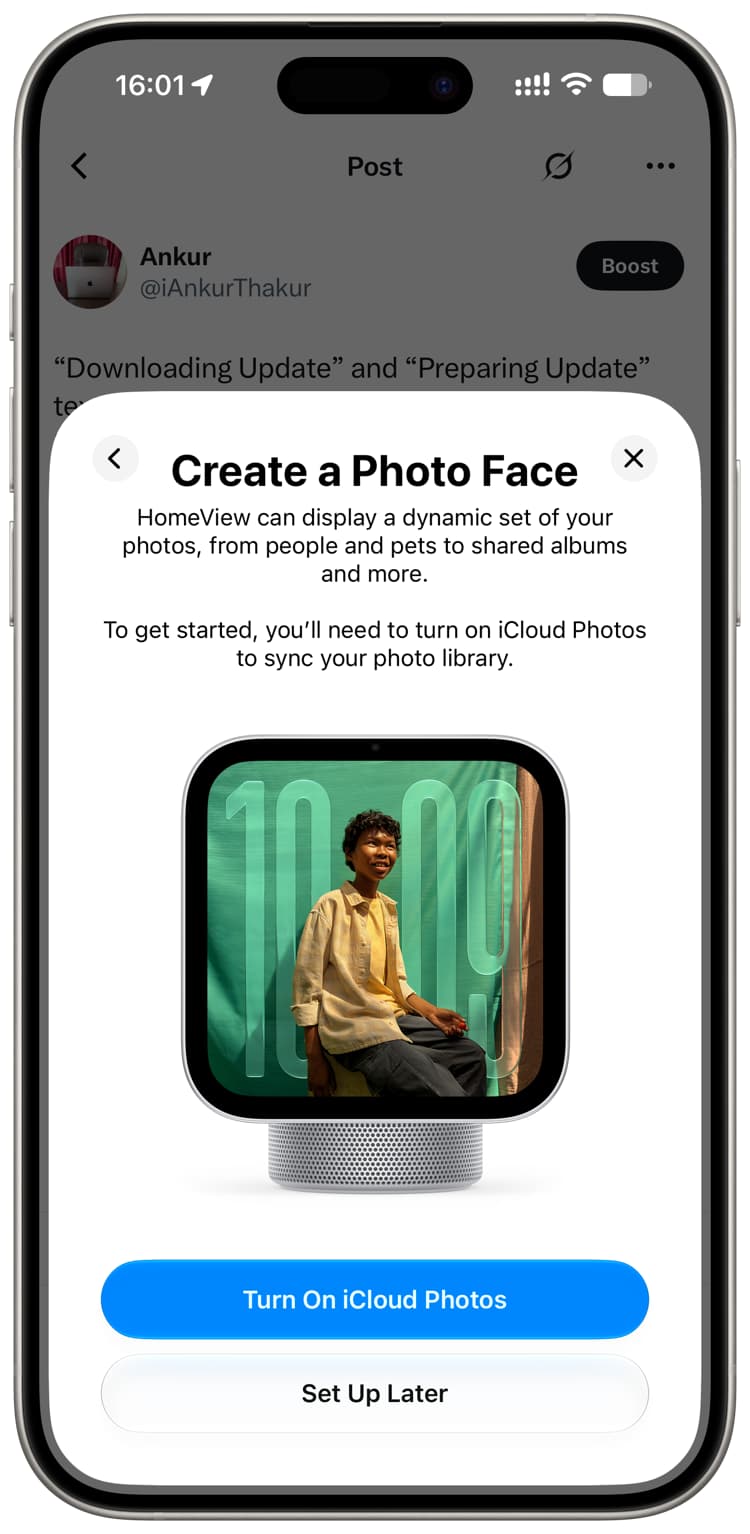
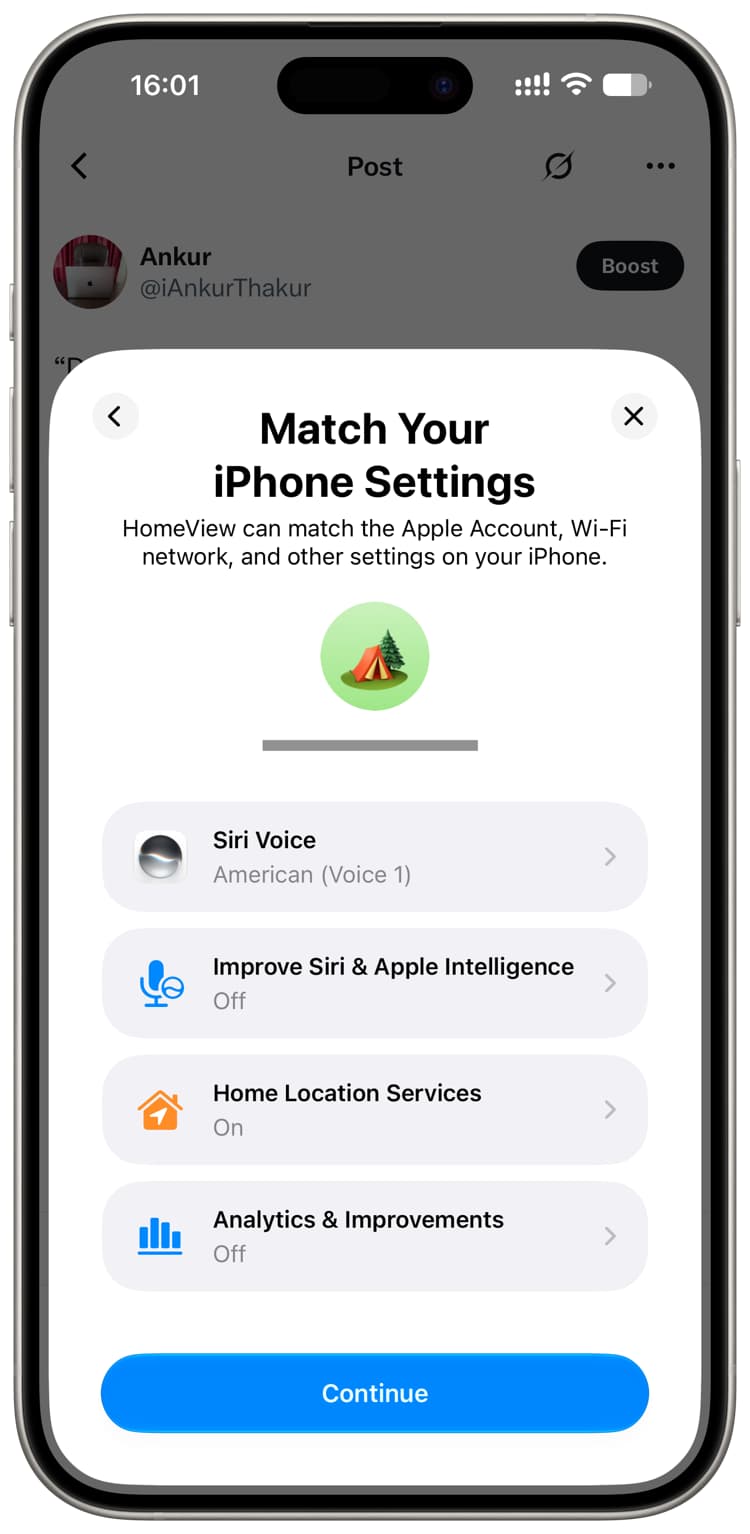
- Choose whether to create a photo face from your iPhone or iPad photos. This requires iCloud Photos and can be done later. You can also match HomeView’s Siri voice, location and analytics settings to your iPhone or iPad, or customize them for HomeView.
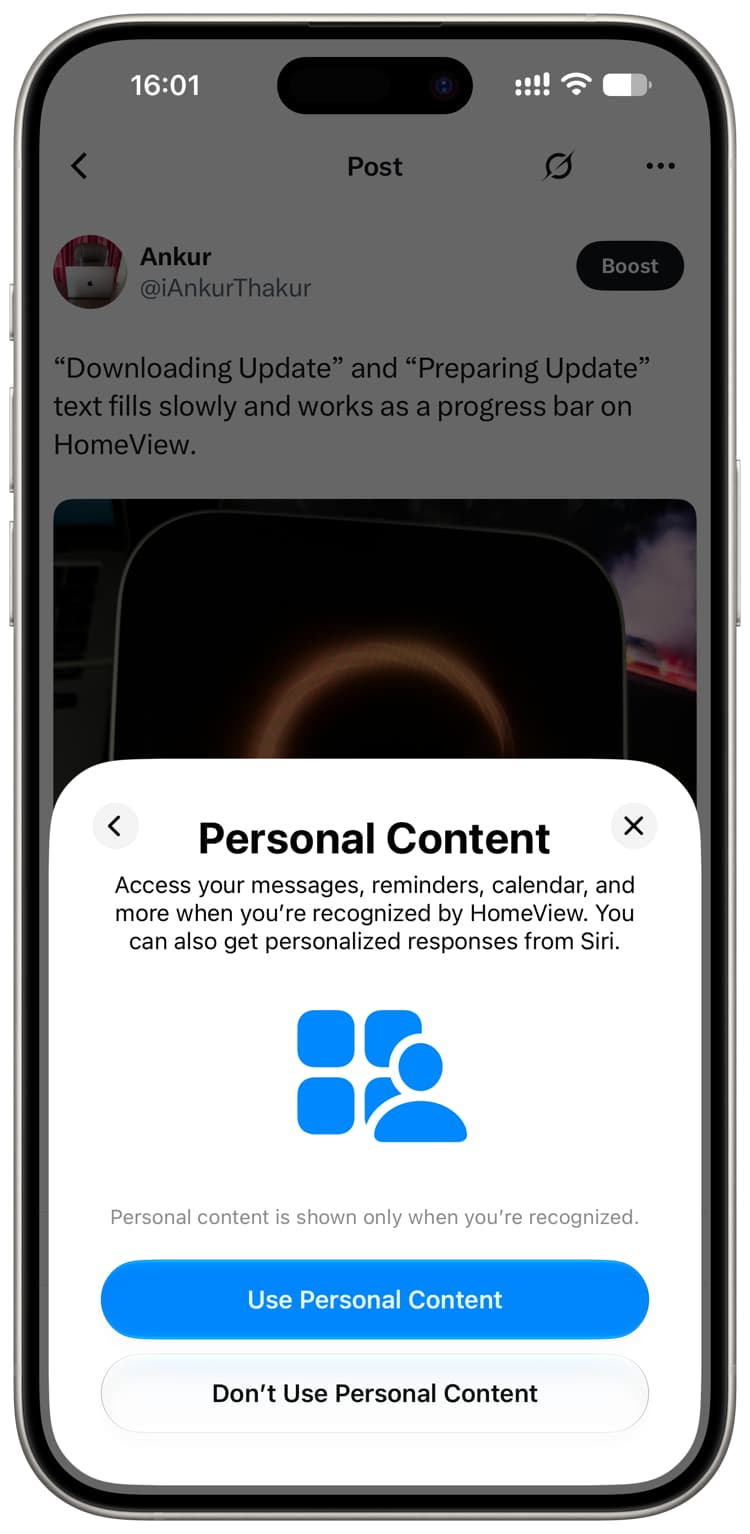
- Decide whether to enable Personal Content, which can display items such as Messages, Reminders and Calendar events. The guide says HomeView uses its front camera and a nearby device to recognize the user. The author reported that, in one test, another person could see the author’s Messages for about two to three seconds before the app was blocked. Consider that reported behavior when deciding whether to enable personal content on a shared device.
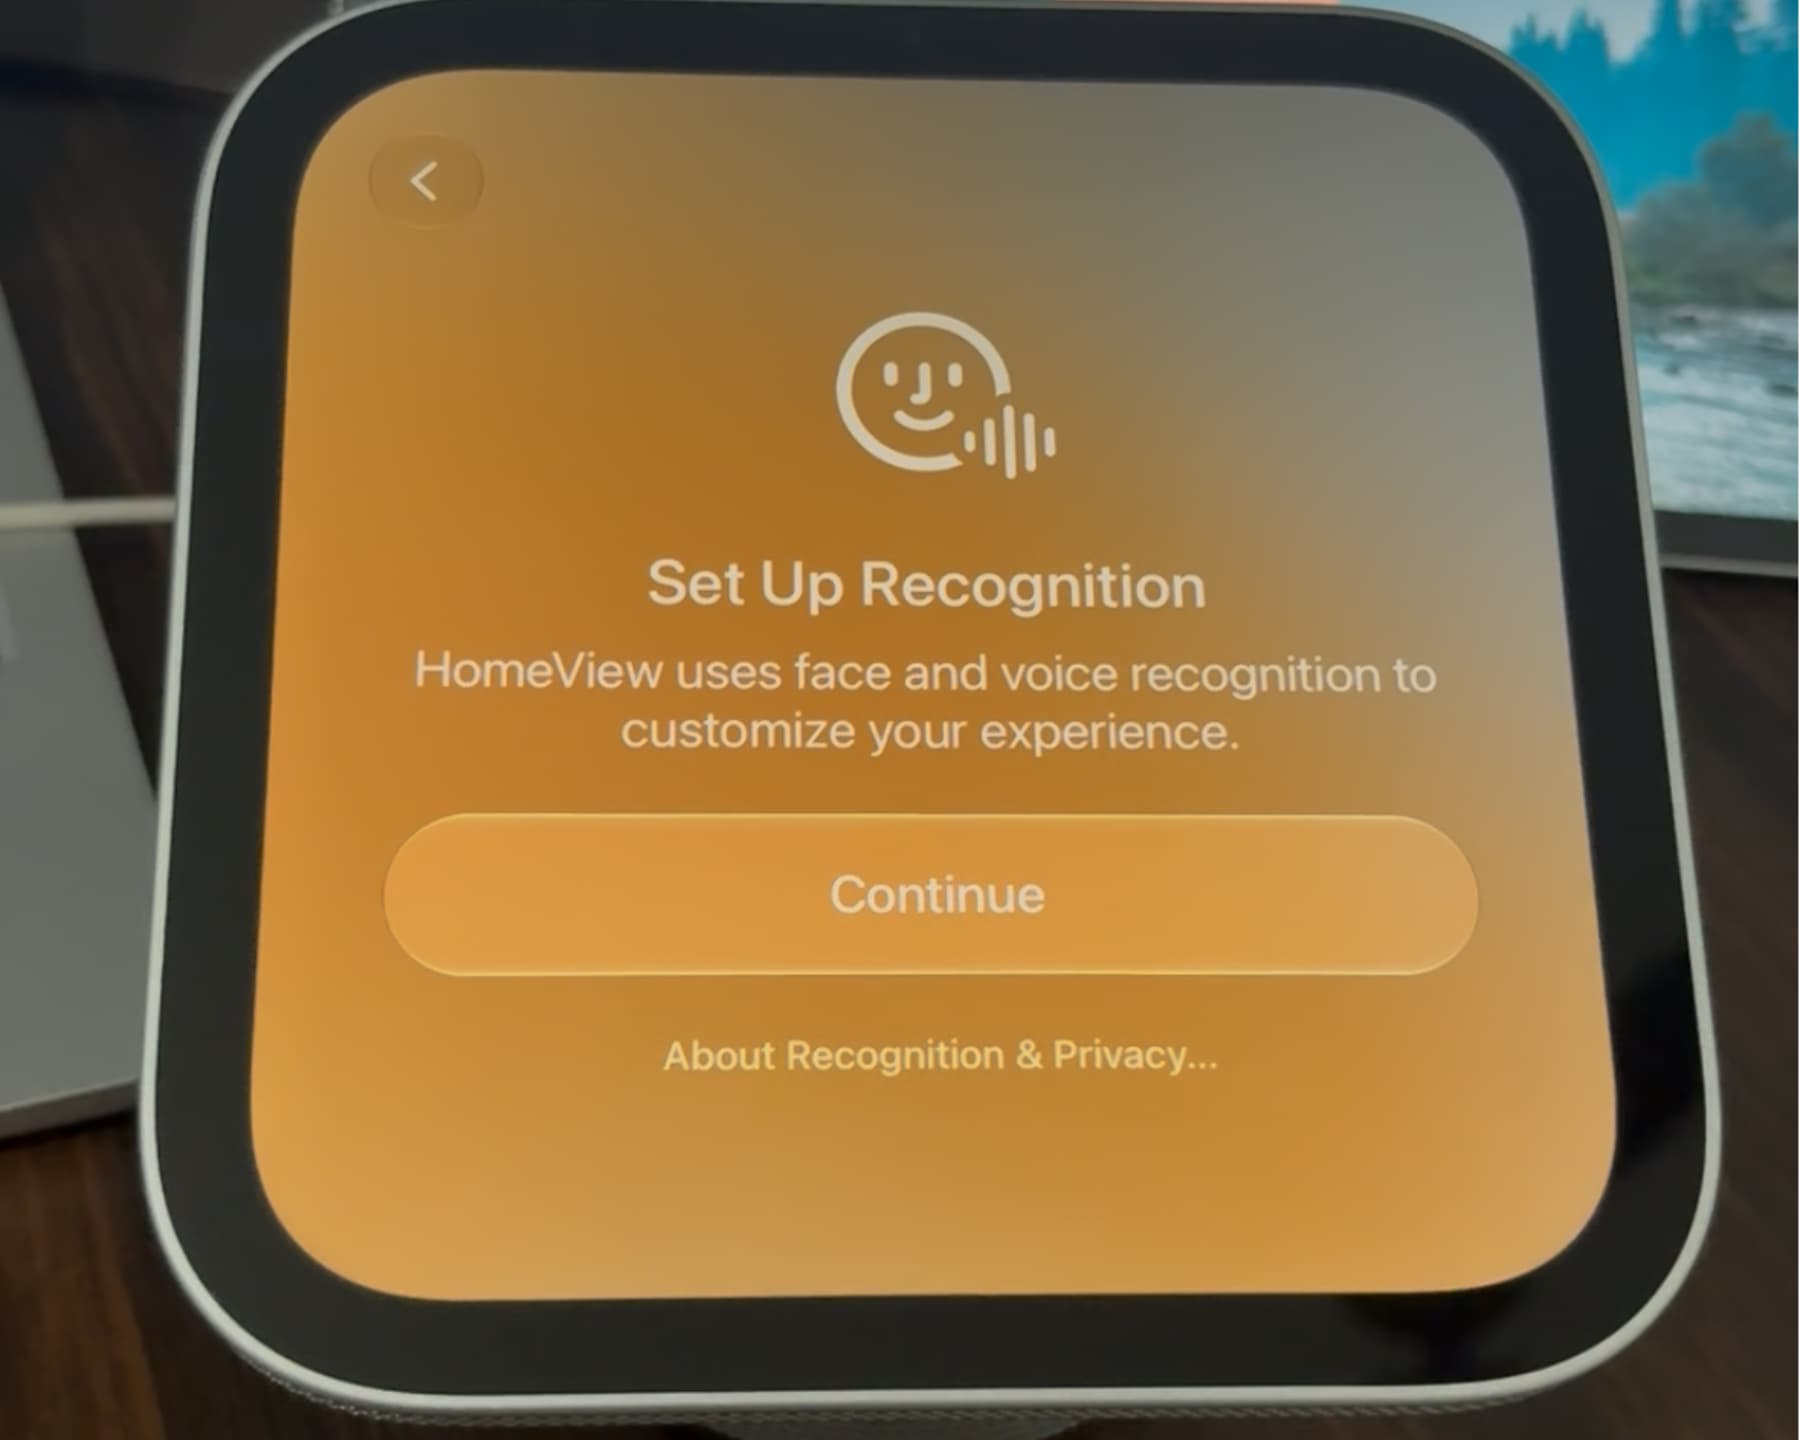
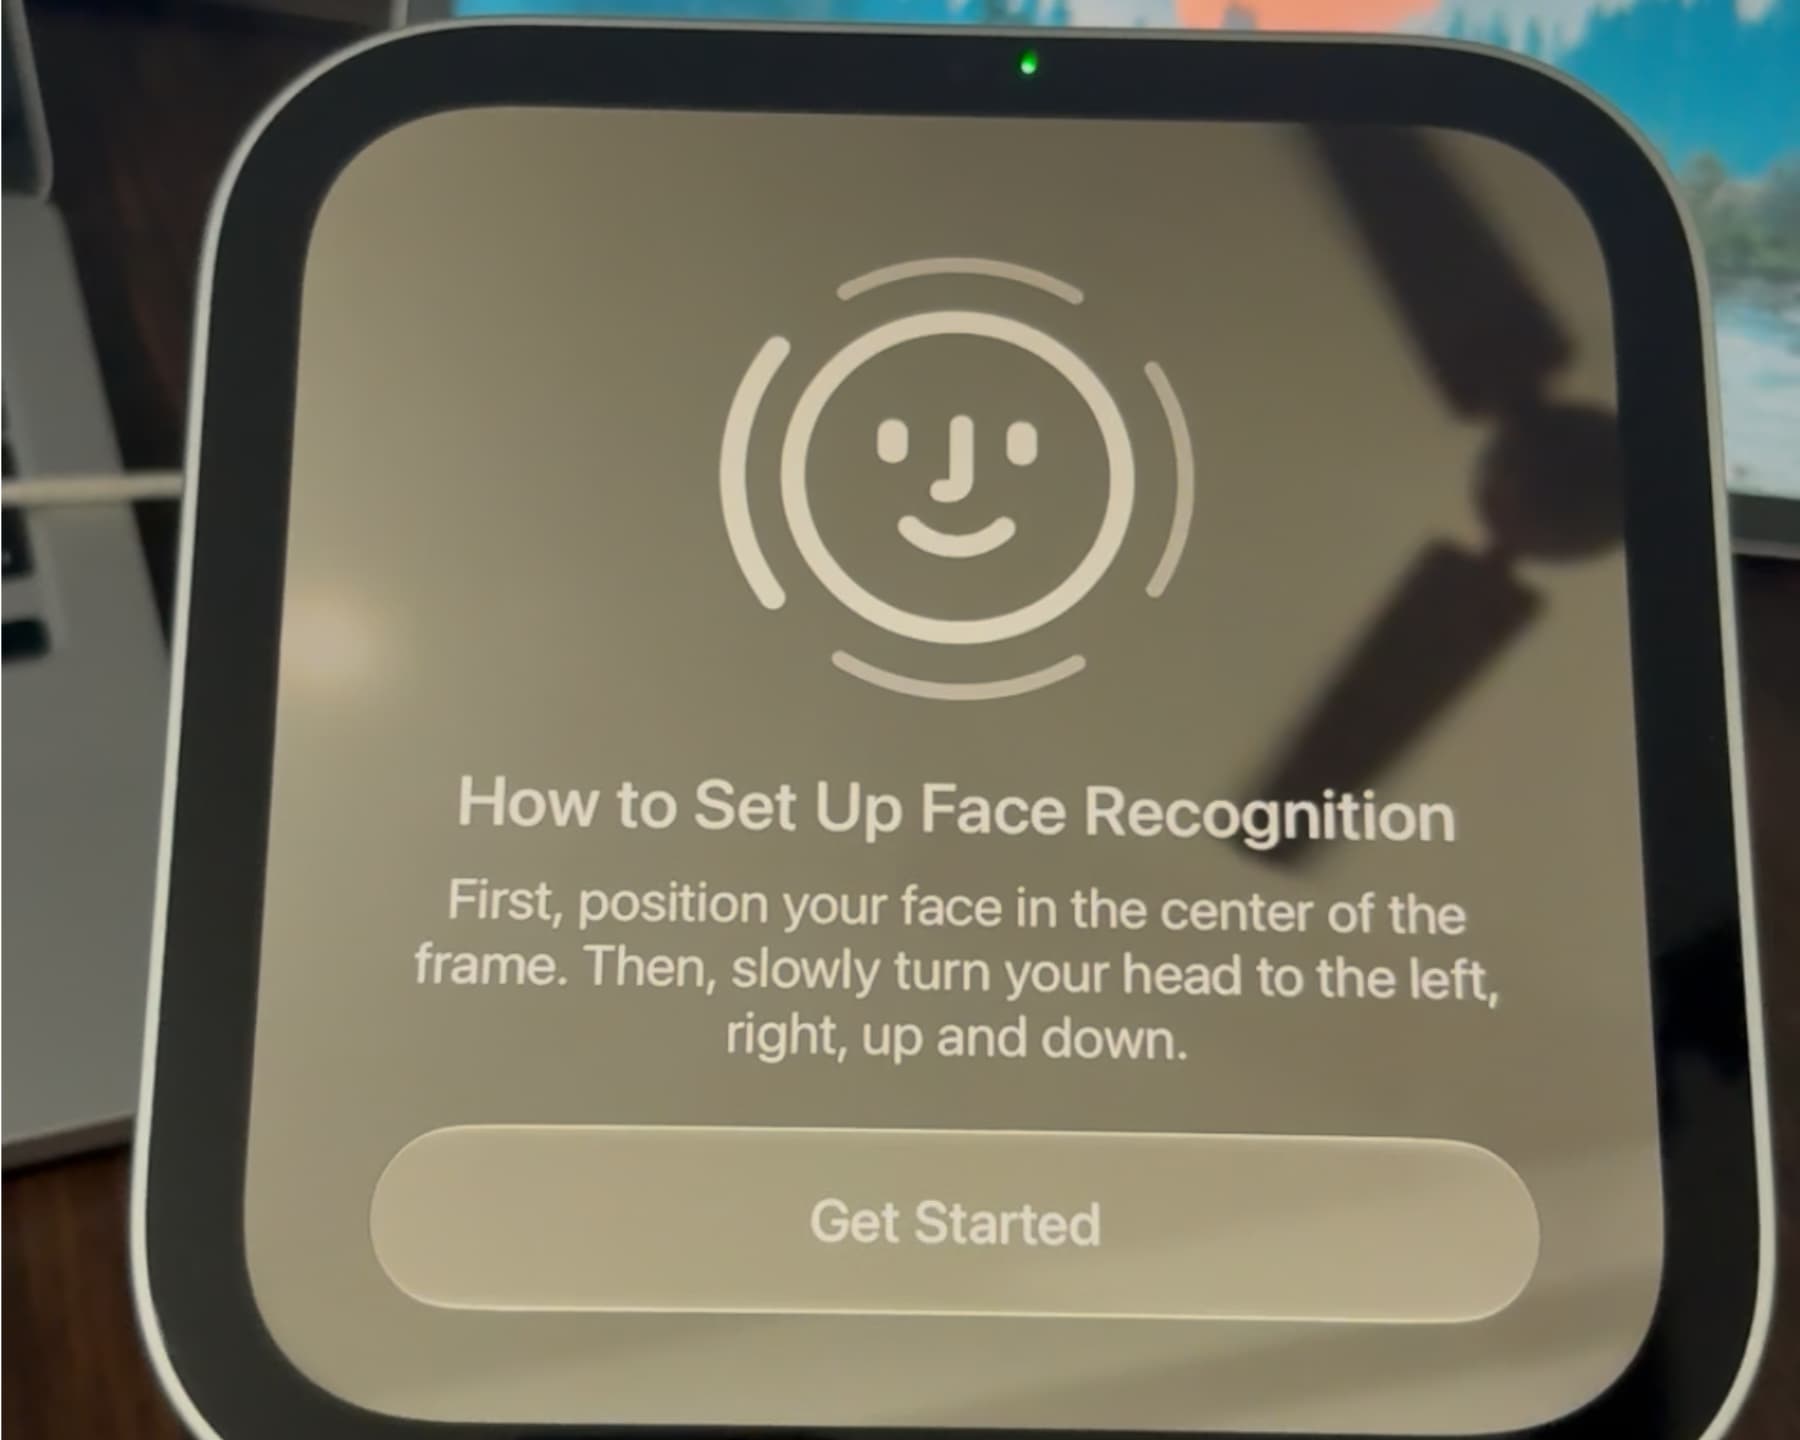
- Wait while HomeView activates and sets up the Apple Account, Apple Home and personalization. Then follow the prompts on its display to set up voice recognition by speaking the shown Siri phrases. For face recognition, position your face in the frame and turn your head until all four on-screen arcs turn green.
- Review the introductory controls and tap the checkmark to finish. Swipe up from the welcome screen to see your apps.
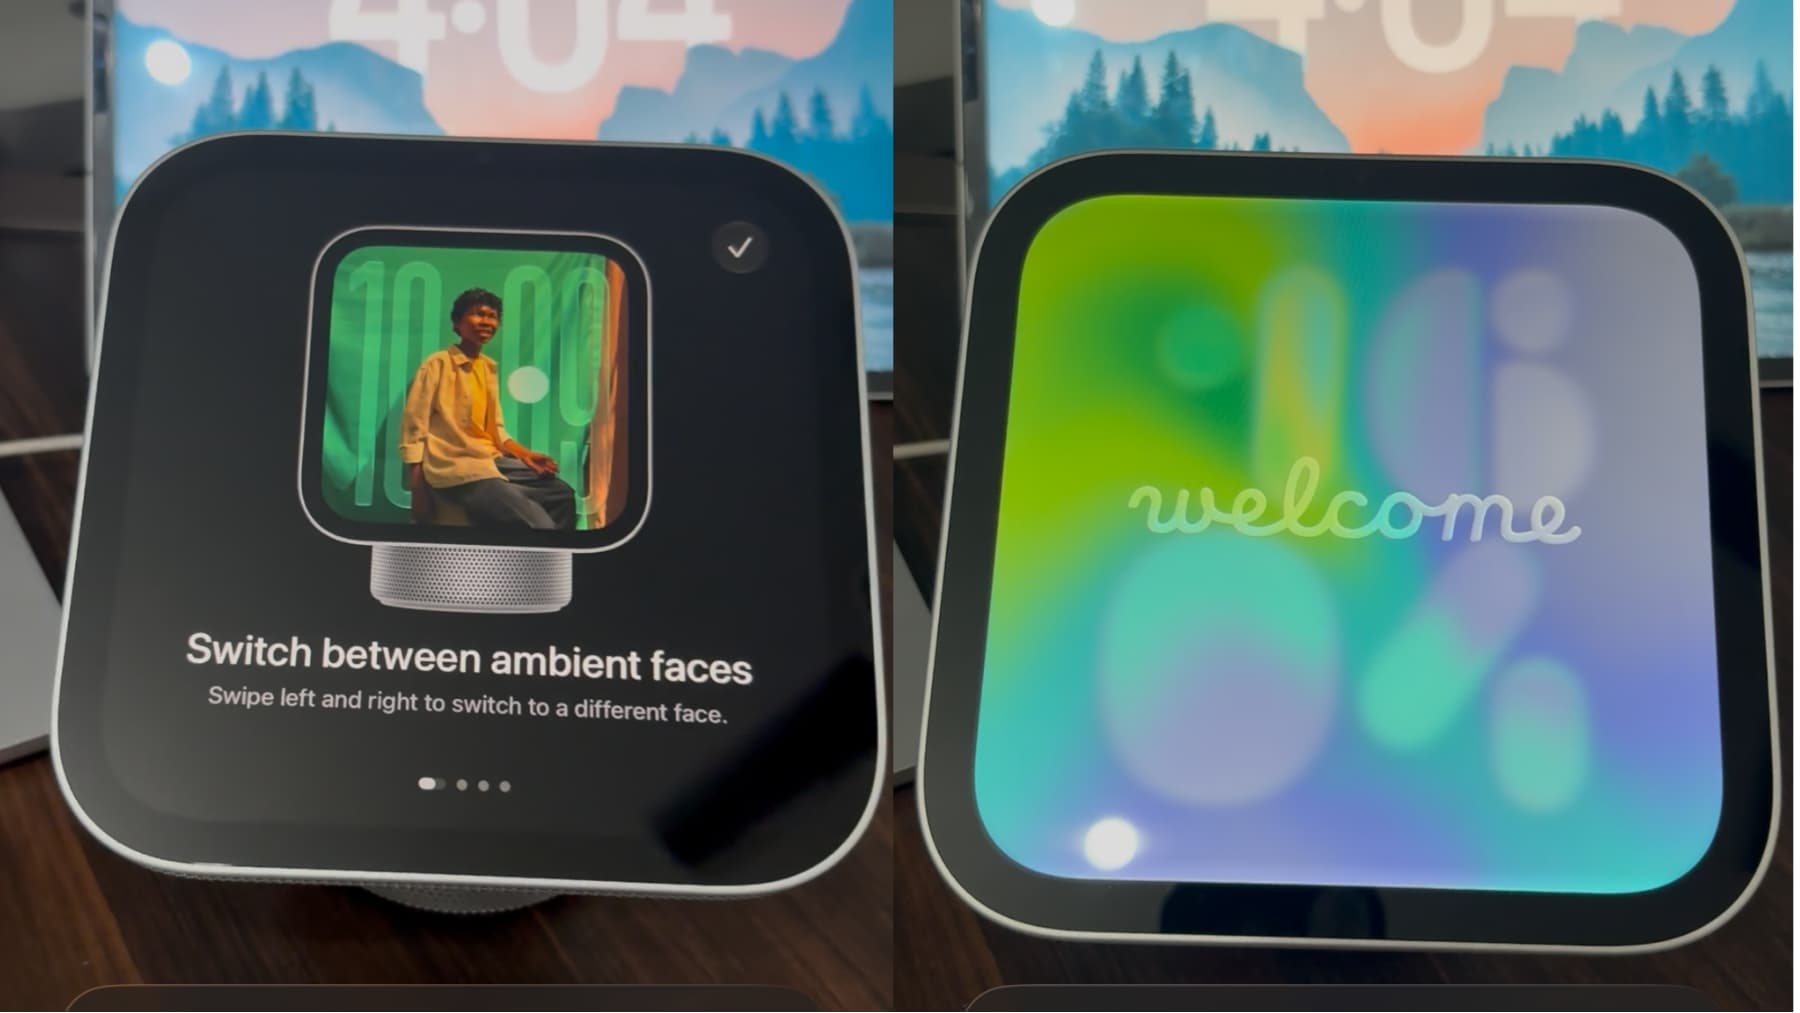
If setup stalls, the guide suggests restarting the iPhone or iPad and HomeView before trying again. Although its final troubleshooting instruction mentions a power switch, the same guide says HomeView has no physical power switch.